Become an Oboe Master!

Dear New Oboist! I am so excited for you to take on this new challenge and learn to play...the OBOE! Playing the oboe is a fun and rewarding experience and will take practice and bravery, just like becoming a Jedi Master! Oboists are often needed in band and orchestra music for important solo parts and there are many challenges to playing the oboe well. In this website, you will find information on equipment needed to play the oboe, how to care for an oboe, playing your first notes, some practice examples to help set you up for success, and some solo literature to get you started on your journey to becoming an Oboe Master! As Yoda says, “A Jedi must have the deepest commitment, the most serious mind.” I know you are ready for this challenge. Best of luck and “May the force of the oboe be with you!”

Equipment/Instrument Care

What kind of equipment you will need to play oboe, and how to care for your oboe to maintain it properly.

Making a Sound

How to play your first note and get a good tone on the instrument.

Basic Technique

How to develop your skill on the oboe so you can start playing in your band or orchestra!

Advanced Skills

Where to look when you are ready to take the next step to becoming an oboe master!

About the Oboe

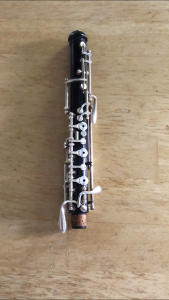
The oboe is a beautiful sounding and challenging instrument, and is part of the Double Reed Family. Originally descended from early European folk instruments, the oboe has been used in orchestras for about 400 years. It has a wooden conical bore and makes a sweet haunting sound. Other instruments in the double reed family include the bassoon, cor anglais, oboe d’amour, and hecklephone.

Equipment/Instrument Care

Here are some recommendations for equipment you will need to play the oboe.
Reeds

Reeds

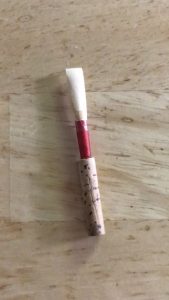
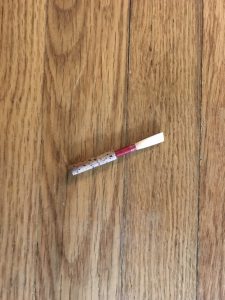
The reed is possibly the most important and most delicate part of your oboe.

It is best to purchase handmade reeds from a professional oboe player in your area. Store bought reeds are often low quality and will not play correctly. Avoid fiber cane and plastic reeds. Reeds can cost about $10-$30 each and will last for about 1 month, depending on how much you play. ALWAYS keep an extra reed on hand in case yours breaks! Click the icon below for a link to a reputable reed maker.

Oboe

Oboe

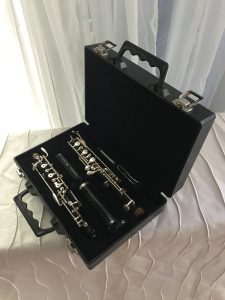
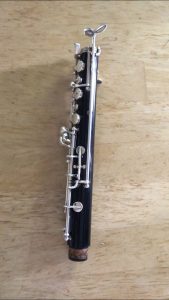
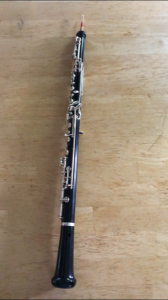
You will need a good oboe that is in proper working order.

Nothing is more frustrating than trying to play on an oboe that is leaky! Oboes are fragile and can easily get bumped out of alignment, so it is recommended that you have your oboe checked by a professional before you try to play it. Also make sure you use an oboe that is on your teacher's "recommended brands" list. Cheap brands of oboes are made poorly and are not worth the trouble.

Water Cup

Water Cup

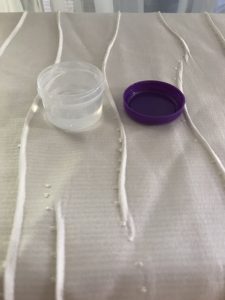
Used to soak your reed.

You will need a small cup that you can use to soak your reed before you play. Oboe reeds are double reeds, which means they are made of two pieces of cane, instead of only one like a clarinet or saxophone. You will need to submerge the end of the reed in water to get both the inside and outside of the cane wet. Reeds need to soak for 2 1/2 - 3 minutes before they are wet enough to play correctly.

Swab

Swab

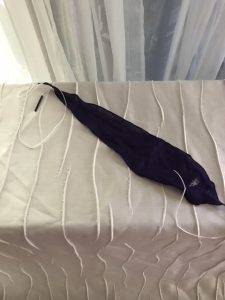
Used to clean inside the instrument.

You will need to swab your instrument after each time you play. A silk swab like the one pictured above is recommended. Do NOT try to pull the swab all the way through - it will get stuck. Insert the string into the larger end and pull it through until it is snug. Then pull it back out the large end. Click the icon below for link to a music store where you can purchase a swab.

Cork Grease

Cork Grease

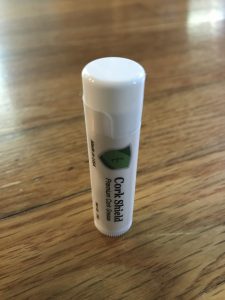
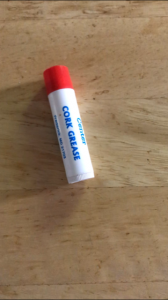
Used only on the corks that connect the parts of the oboe and reed.

Put a small amount of cork grease on the tenons that connect the parts of the oboe to make sure they fit together smoothly and don't get stuck or tear. You should also put a little cork grease on the cork at the bottom of your reed.

Assembling Your Oboe

Use great care when assembling your oboe, young padawan. Oboes are fragile and the keys can be bent easily. Follow these instructions to learn to assemble your oboe correctly...
1.

1.

Wet the reed

Start by soaking your reed in a small cup of water. You can let it soak while you assemble the rest of the instrument. Submerge the cane of the reed (wood part) in a small cup of water. Do not soak the threads or cork at the bottom of the reed.

2.

2.

Grease corks

Put a little bit of cork grease on all the corks, including the cork at the bottom of your reed. Rub the cork grease on all sides of the corks with your fingers. Don't use too much cork grease, and wipe away any excess grease with a paper towel.

3.

3.

The Bell

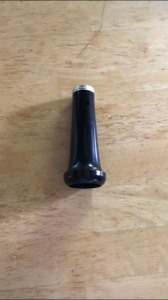
Hold the bell of your oboe in your oboe in your right hand, with your thumb on the key (if there is one) so the bridge mechanism is raised. Please note: some student model oboes do not have a key on the bell.

4.

4.

The Lower Joint

Next, hold the lower joint in your left hand, but try not to push any of the keys or rods. Gently push the bell onto the lower joint. If you have the extra key on the bell, make sure the bridge mechanism lines up and does not get bent out of place.

5.

5.

The Upper Joint

Take the upper joint with your left hand and hold it so you are pushing the keys to move the bridge mechanism out of the way. Keep holding the bell and lower joint in your right hand, but make sure not to push any of the keys or rods. Gently push the upper and lower joints together, lining up the bridge mechanism.

6.

6.

Bridge Key

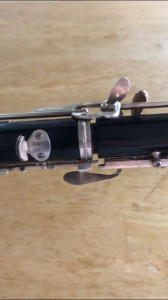
Bridge keys are made of two metal pieces that stick off the upper and lower joints and overlap. Make sure the bridge mechanism lines up and does not get bent out of place.

7.

7.

Add the Reed

Finally, gently push the reed all the way into the receiver at the top of the oboe. Make sure you line up the flat side of the reed with the keys. Hold the reed by the threads (not the cane) in order to avoid damaging it.

8.

8.

Putting It Away

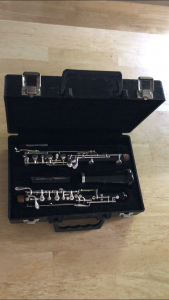
When you put your oboe away, follow the steps above in reverse order. Always put the reed away first, to avoid any accidental damage to it. Be careful when you take the joints apart so you don't bend any keys or tear the cork. Also a helpful hint for putting the pieces in the case correctly - look for the indent where the thumb rest goes. If your case won't close easily DON'T force it or you may break something. That usually means something is out of place and needs to be repositioned before you close the case.

IMPORTANT!!!

IMPORTANT!!!

Do not leave your oboe in extreme temperatures!

When storing your oboe between practice sessions, be mindful of where you leave it. Extreme heat or cold (such as in the backseat of a parked car) are bad for the instrument, and can permanantly damage wooden oboes.