Now that you’ve successfully made a sound and played your first notes on the oboe, you are ready to take on some Basic Technique Exercises. Here are a few to get you started!
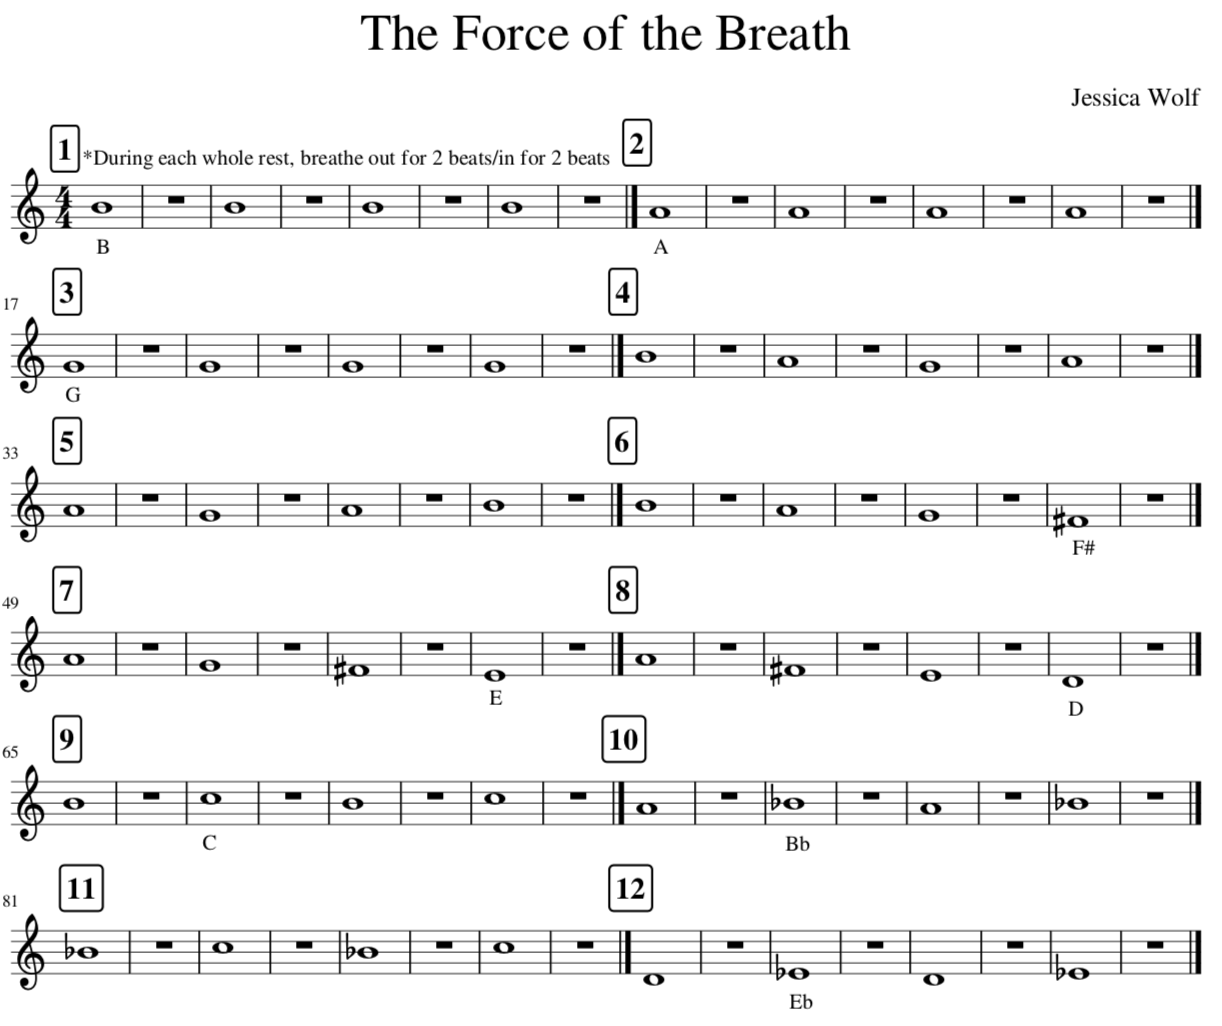
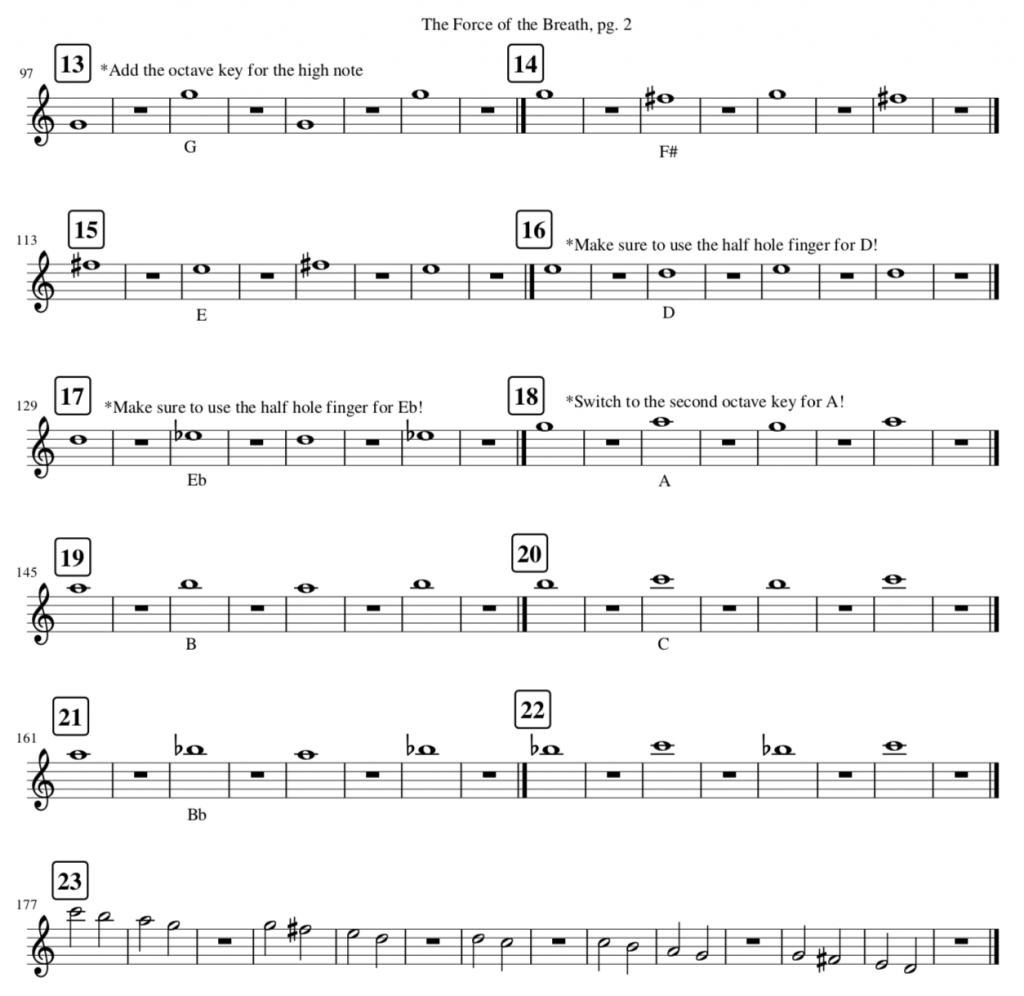
First, let’s play some easy notes. Practice breathing both out and in during each rest between notes and try to start remembering which fingers to use for each note. Feel free to look up any fingerings you don’t know on the “Oboe Fingering Chart” page. Strive to play each note with the absolute best tone possible.
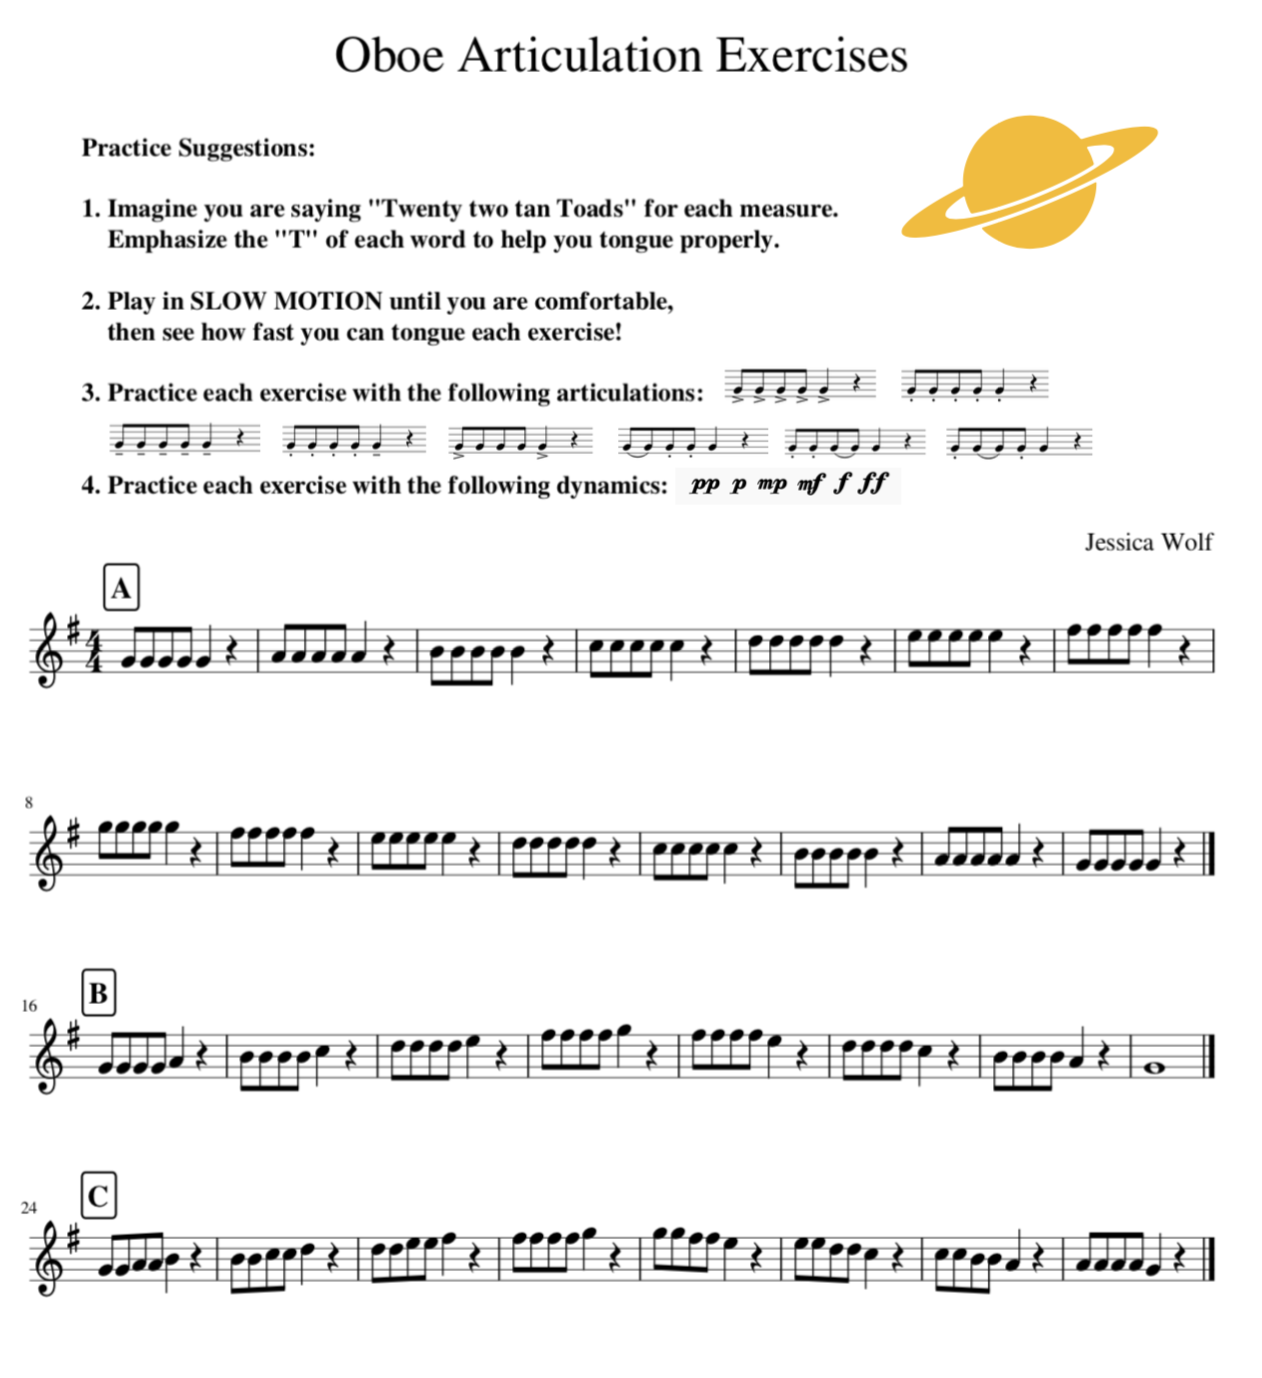
Let’s talk about something as important to playing oboe as having a light saber is to a Jedi. ARTICULATION. When you articulate on the oboe, you touch the tip of your tongue to the tip of the reed. You have to release your tongue off the reed quickly so the air can get through. If you do it correctly at the beginning of each note, you will get a more professional sound, and the beginning of your notes will be crisp and clear. Let’s practice some tonguing.
One of the trickiest things about oboe is how to finger the note “F.” There are several different ways to finger “F” and in order to earn your light saber you will need to know all of them.
1.
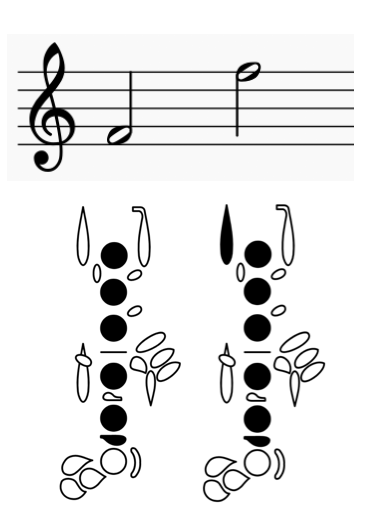
This is F(R). It is called that because you use your right hand fingers to play it. This is the most commonly used fingering for F.
2.
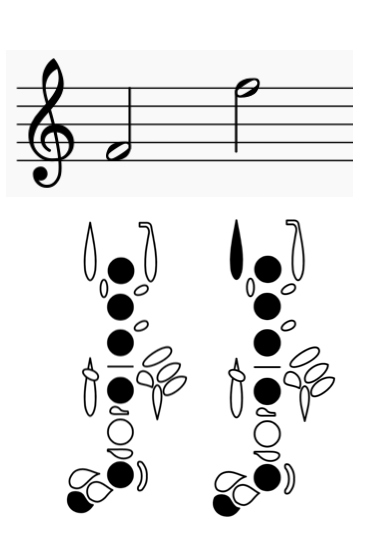
This is “forked F”. It is called that because you have to skip a finger to play it. You will use this fingering whenever you have another note right before or after F that uses the third finger on your right hand (such as D, Eb, or C#)
3.
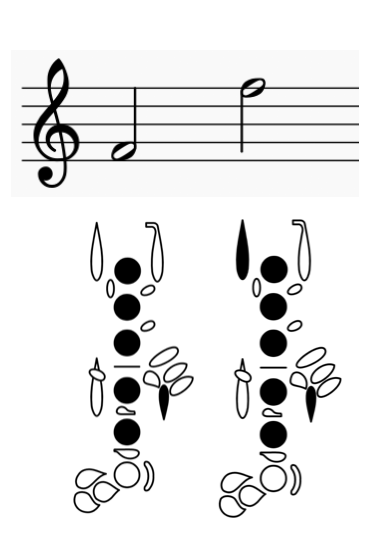
This is LH F or F(L). This fingering is only available on instruments that have a left hand F key. Most pro-level oboes come with this extra key.
Let’s play some examples that use F(R) and Forked F!
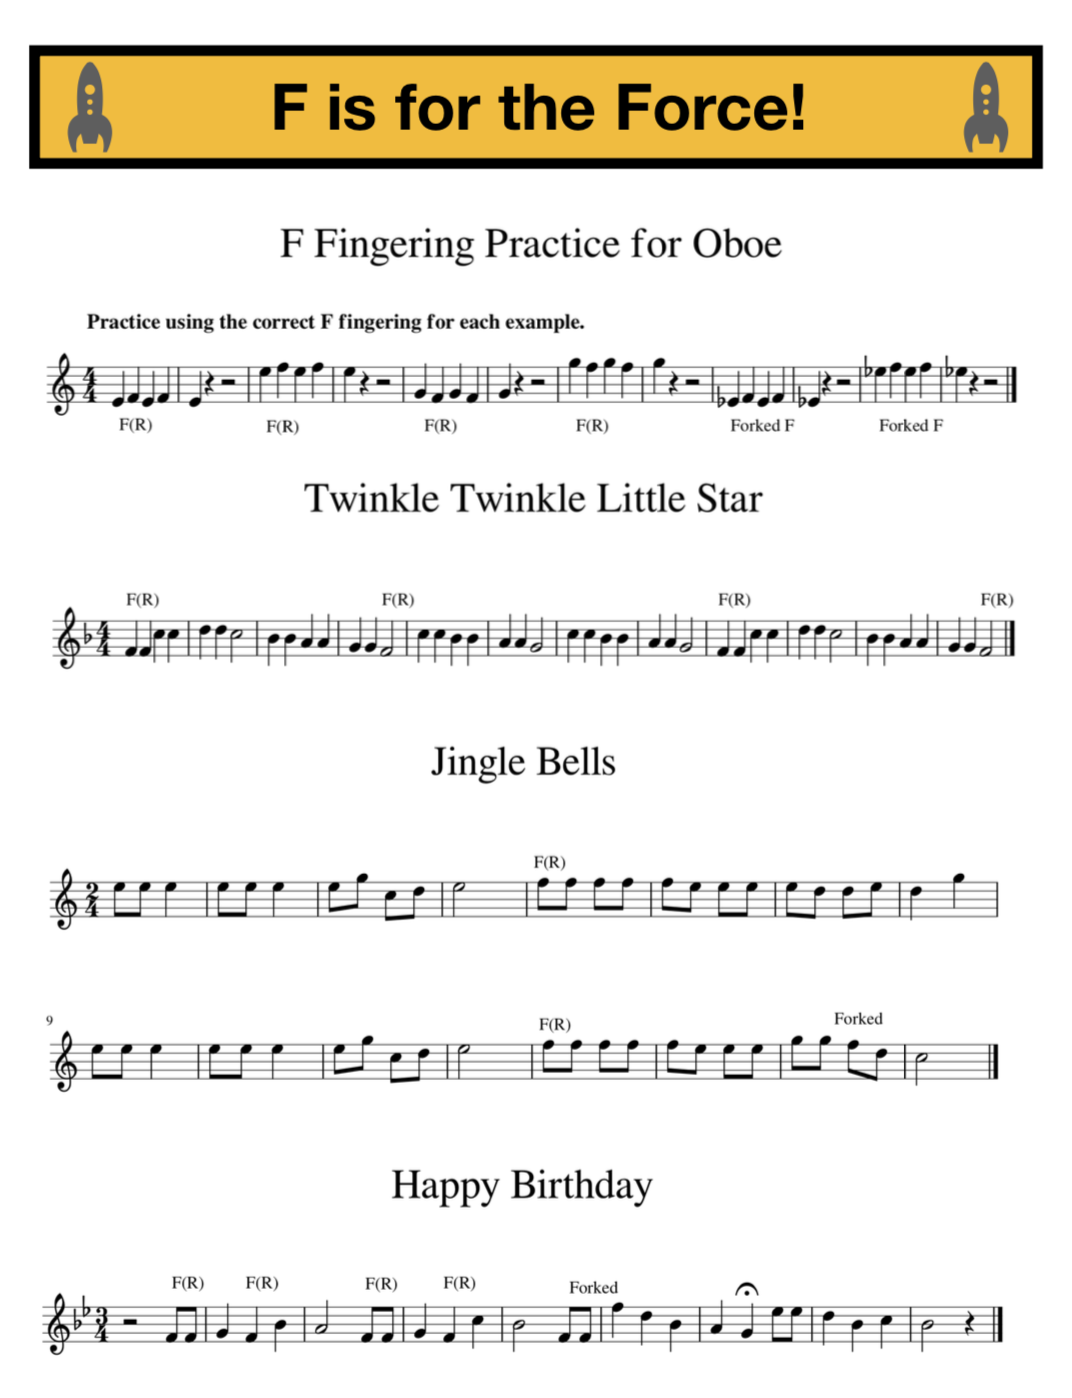
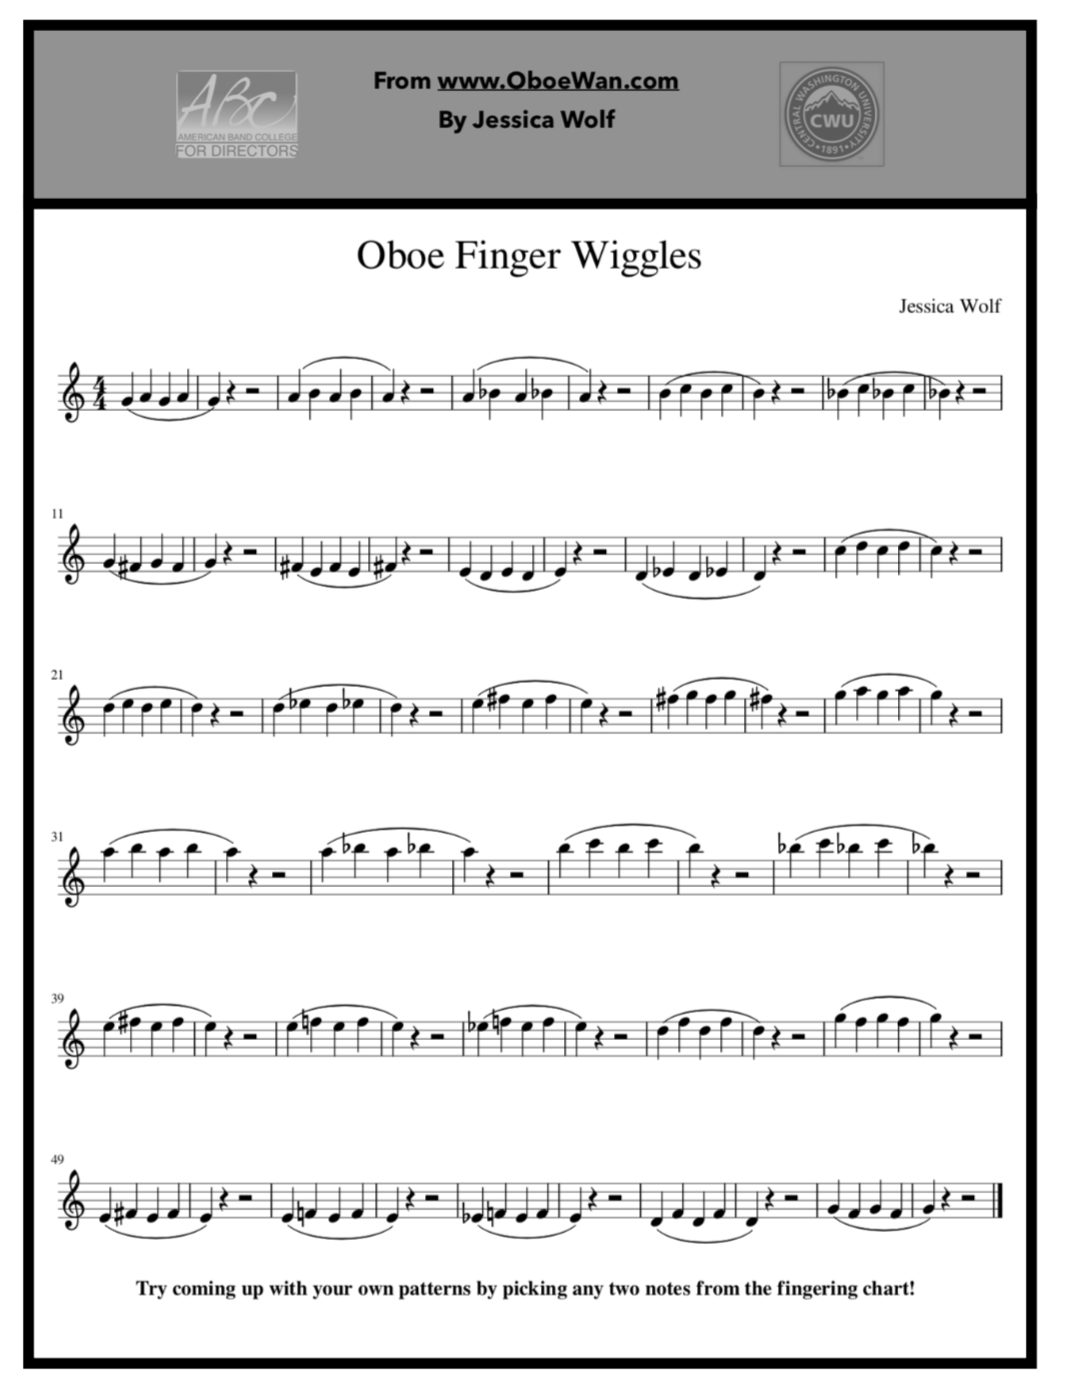
If you’ve gotten this far, you are a Padawan that shows some serious promise. Congratulations on all you have accomplished so far! Now, let’s do some “Finger Practice”. Start by playing these slowly, then see how fast your fingers can go!
Now let’s play some TETRACHORDS. These are 4 note scale patterns. These will help your fingers get really fast! 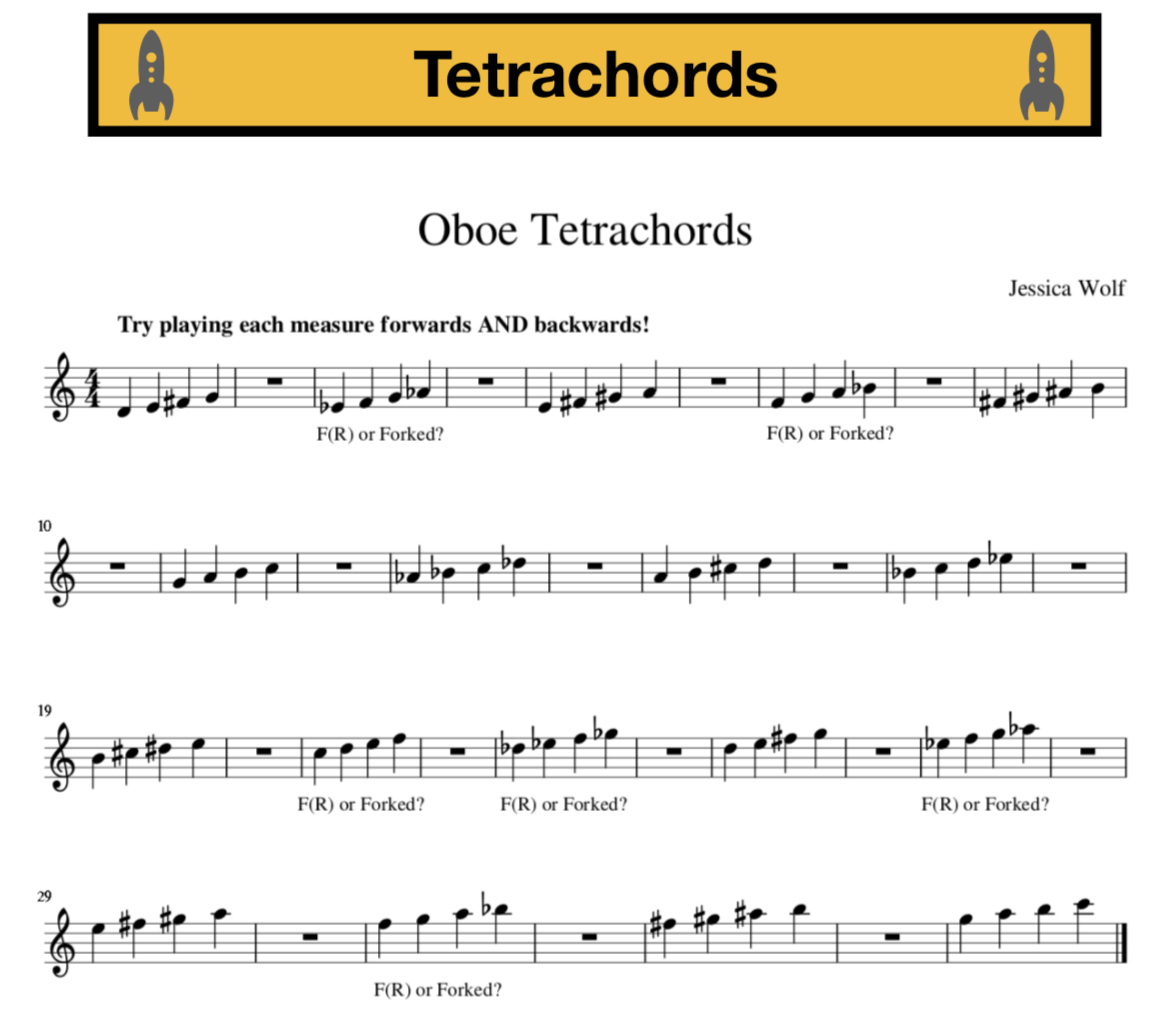
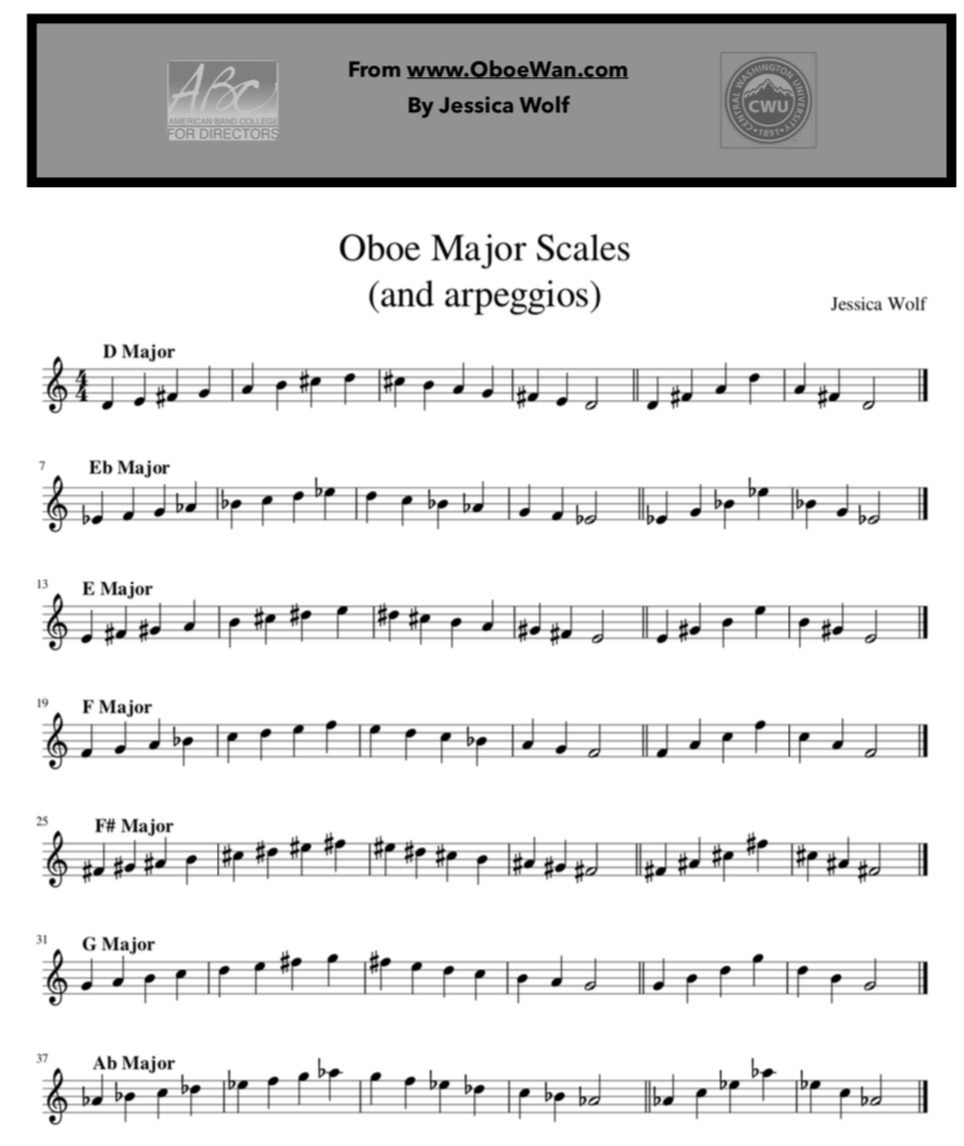
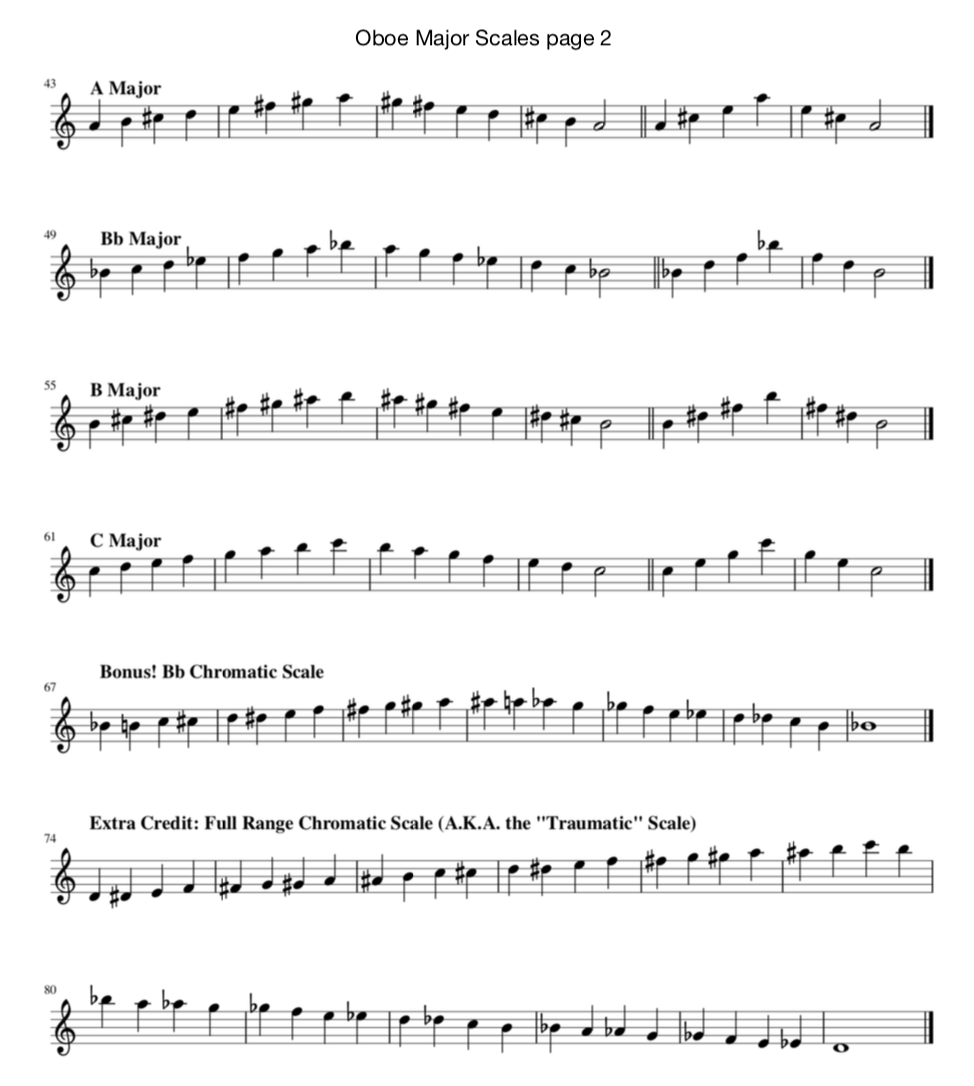
Now let’s play some Major Scales. You will notice that each scale has TWO tetrachords in it. That means you already know the finger patterns for all of these scales! We just have to put them together. Here we go!
